Handover Guide
The complete reference for agencies using Handover. Deliver premium client experiences without writing a line of code.
Installation
Handover installs like any standard WordPress plugin. It creates a dedicated, high-performance database table to keep your site fast.
- Download
handover.zipfrom your CodeCanyon downloads. - Navigate to Plugins > Add New in WordPress.
- Upload and Activate.
- A new Handover menu will appear in your sidebar.
Setting Up Your Brand
Your clients should see your brand, not ours. Navigate to Handover > Settings to whitelist the interface.
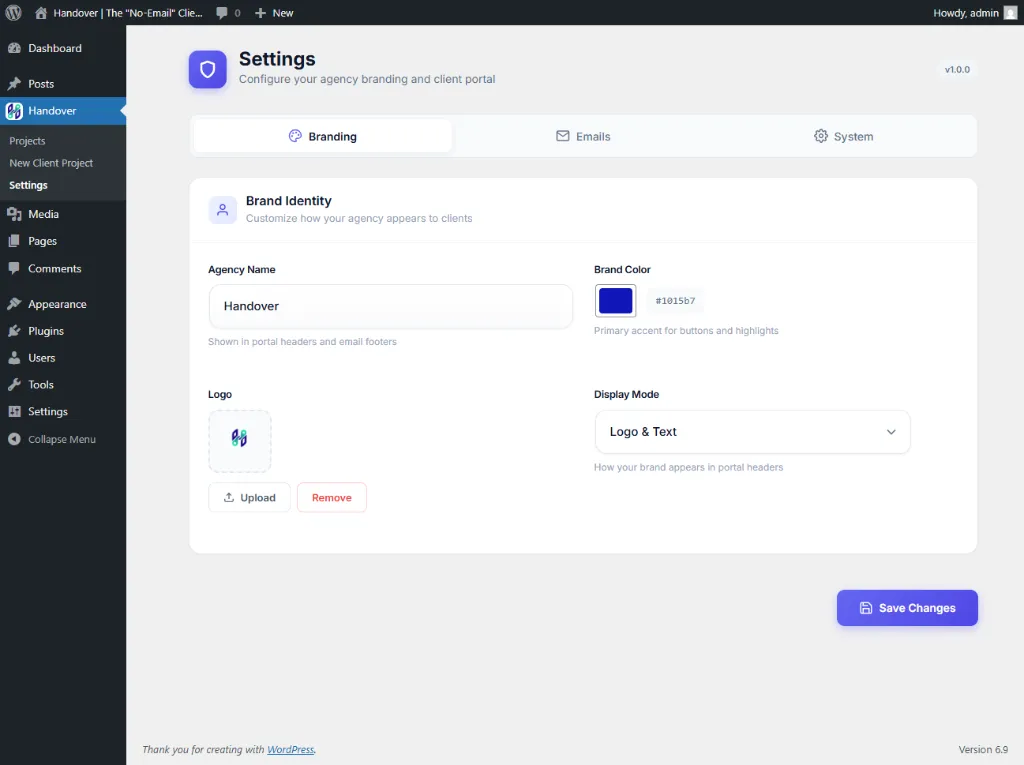
As shown above, you can define your Agency Name (e.g., "Handover") and your Brand Color (e.g., #1015b7). This deep blue color will automatically apply to all primary buttons and accents in the client portal.
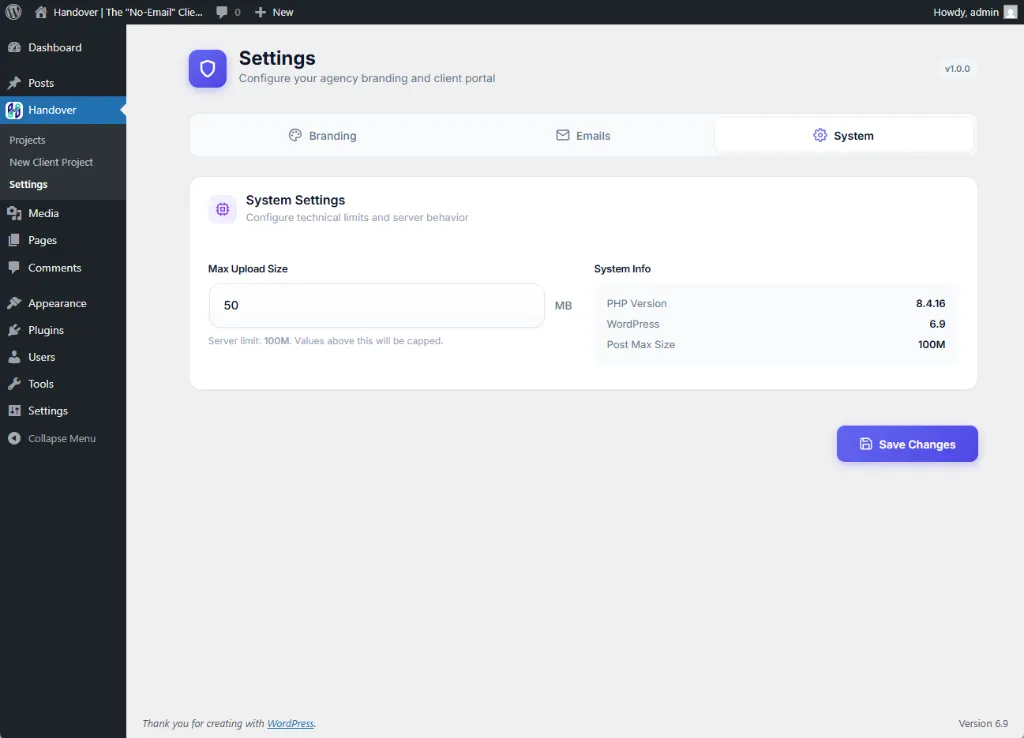
System Limits
Under the System tab, you can override server defaults. For example, increase the Max Upload Size to 50MB to ensure clients can upload large creative assets like videos or raw source files.
Creating a Project
Launch a new engagement by clicking New Client Project. This creates a secure, private workspace.
Define Project & Client
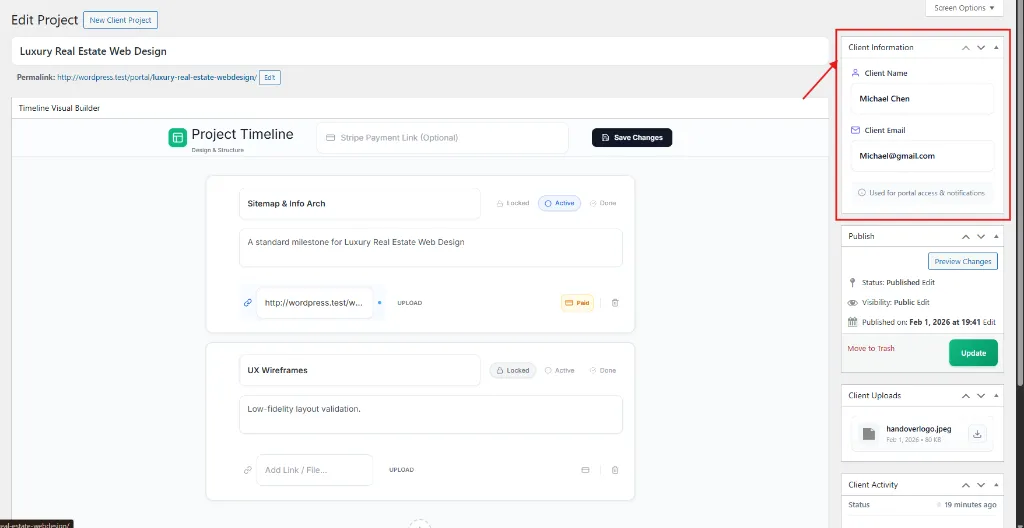
Note the Red Box: The Client Information section is critical. Enter the client's Name and Email here. This is used to generate their Magic Link and send notifications.
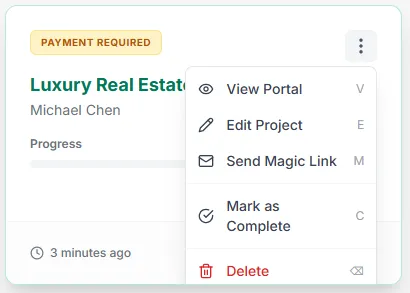
Project Created
Once saved, the project appears instantly on the clients Command Center dashboard.
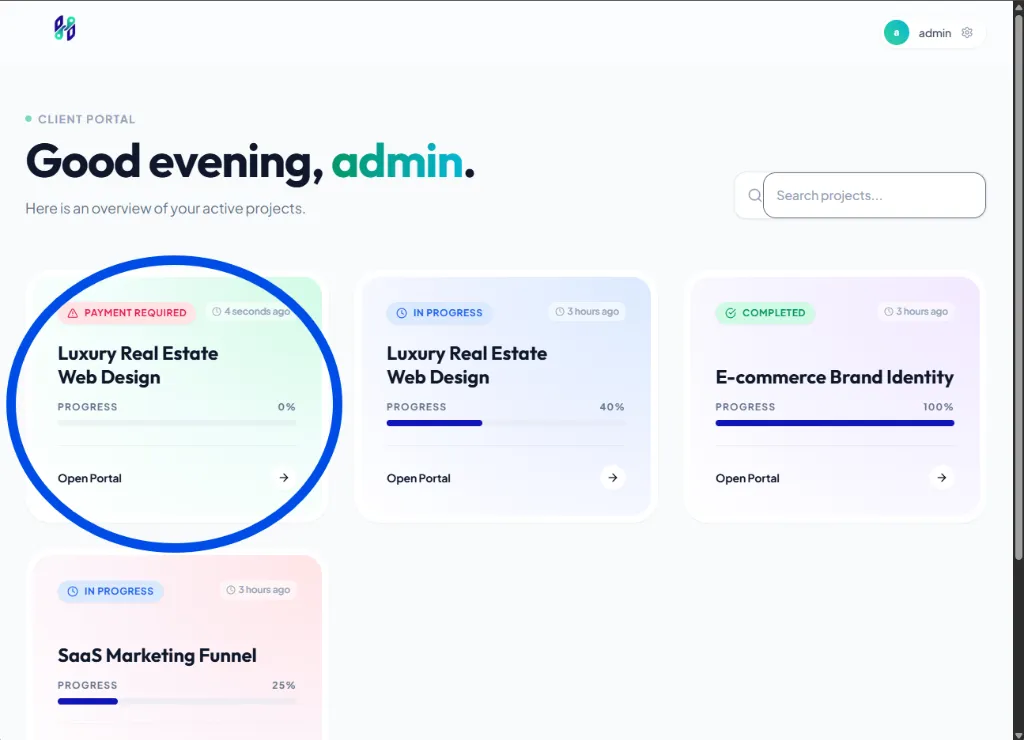
Note the Blue Circle: Your new project "Luxury Real Estate Web Design" is now active. You can see its progress bar and status at a glance.
Visual Timeline Builder
Discard the spreadsheets. Use the Timeline Visual Builder to map out the project lifecycle. You can create milestones like "Sitemap & Info Arch" or "UX Wireframes" directly in the editor.
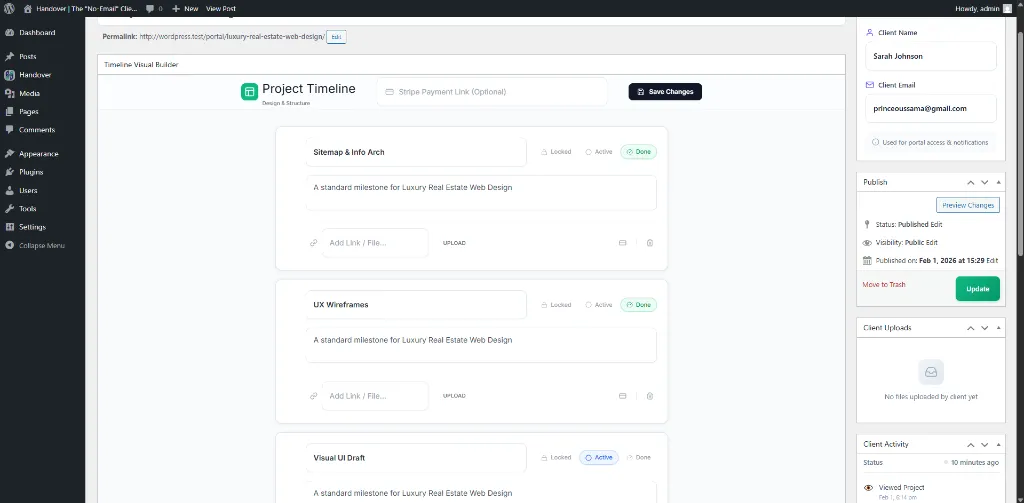
State Management
Milestones have three states: Locked (Client sees it but can't access), Active (Current focus), and Done. You can toggle these with one click.
Monetization & Paywalls
Protect your work. You can lock any specific milestone behind a payment gateway. Until the payment is confirmed, the client cannot download the assets.
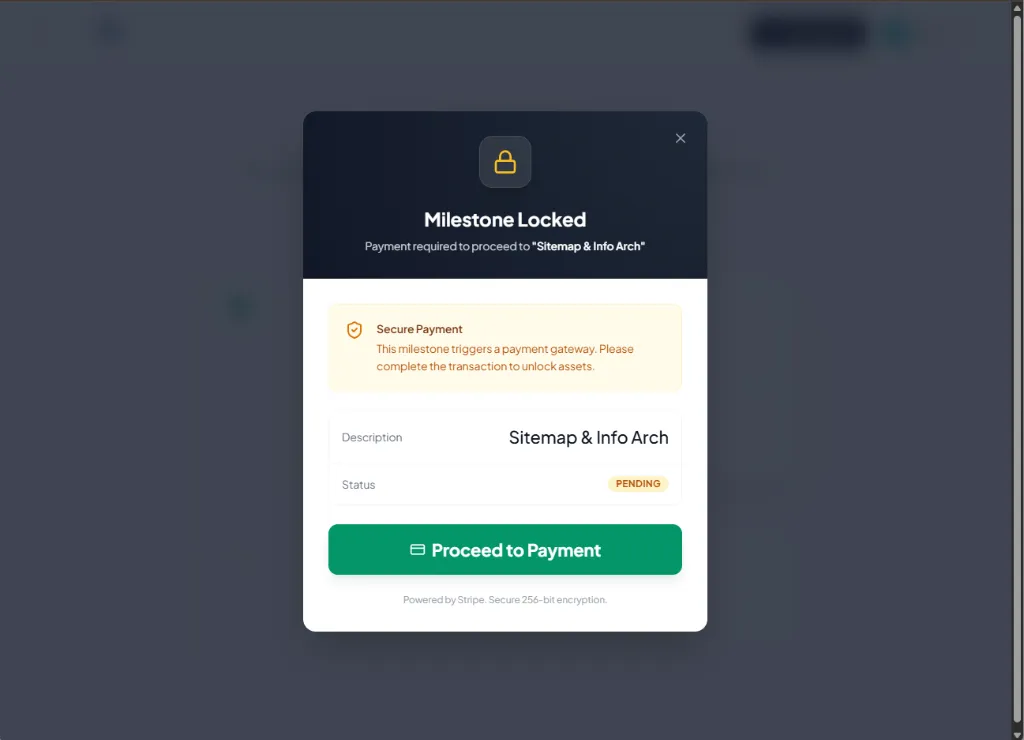
Once enabled, the milestone will display a "Payment Required" badge on the dashboard, making it clear that action is needed to proceed.
Client Access (Magic Links)
We've eliminated passwords. Clients receive a secure, branded email containing a Magic Link.
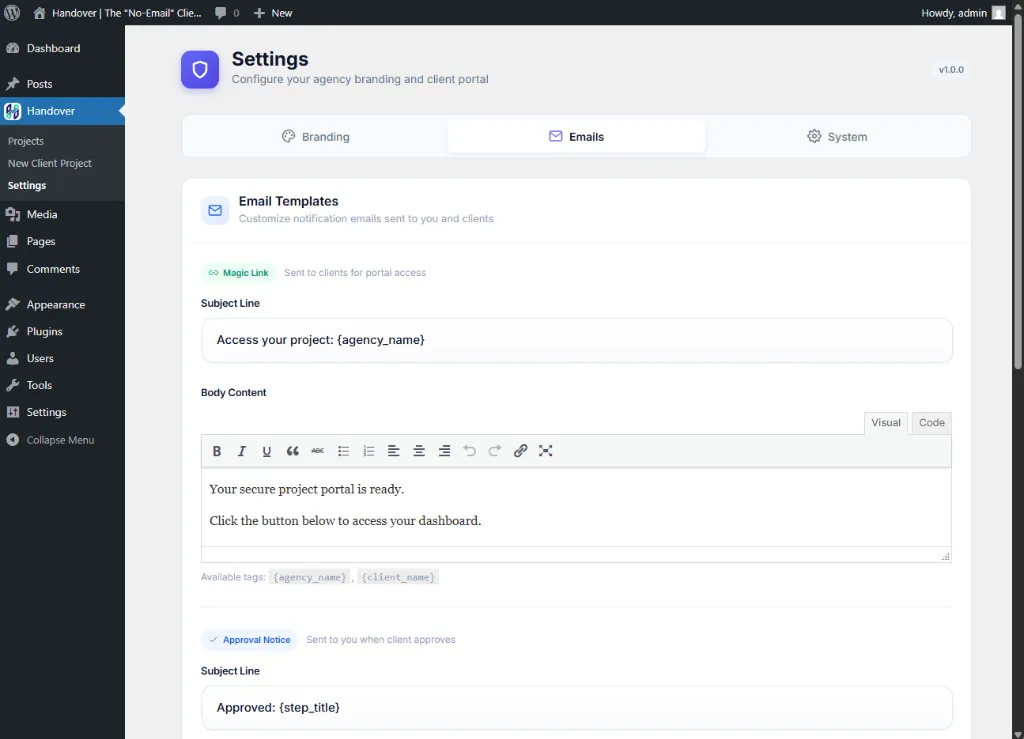
You can customize the Subject Line (e.g., "Access your project: Handover") and the body content. Variables like {client_name} allow for personalization.
Clicking the link opens their personalized portal instantly:
Activity Tracking
Never guess if a client has seen your work. The Client Activity log in your dashboard tracks every interaction in real-time.
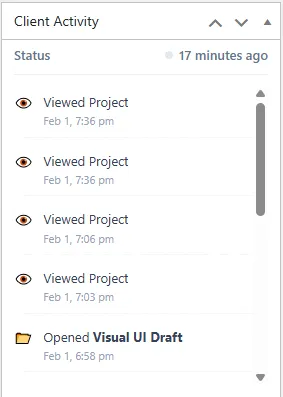
See exactly when they "Viewed Project" or "Opened Visual UI Draft".